I saw this idea on Pinterest and decided it was so cute I wanted to make one as well so here goes.
The starting size of your squares will determine how big the cube is I cut my squares out 6×6 inch which resulted in a large cube so would recommend \4 inches if want it smaller. You will need 6 squares of various fabrics-
I used cotton, baby cord, Sherpa fleece, polar fleece and sweatshirt fabric for mine. All soft and with a couple different textures.
First decide on your layout and any extras you wish to add on and where they may go. I added colourful ribbon and a teething ring. I chose to add the ring on 2 sides so he can be lifted away from the cube without dangling too much. You could attach with one for same effect or two either side so it sits tighter to your toy.

- Start with your 3 middle squares (see 5 for final layout) and sew them together with 1 cm seam allowance
- I wanted to add lace to a square so I pinned it on and joined bottom two squares
- I then added them onto the middle square from step one. When joining be sure to have your seams open it creates better corners and less bulk
- Sew up your ears if adding them and sandwich between the layout you’ve sewn up already and the final square which is sewn onto top.
- Final layout. started with horse, mint and star squares, joined spotty and floral together then added to bottom of mint and finally ears with fluffy pink at very top
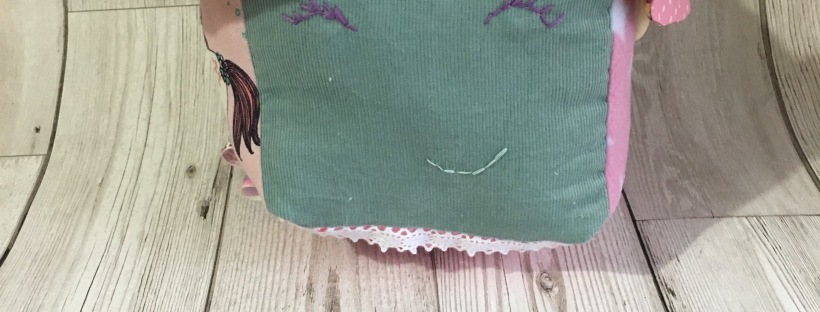
- I decided to add a face to mine as it’s a bunny. I hand embroidered but you can draw on with fabric pens, iron vinyl on or maybe you’ve an embroidery machine.

7. You will slowly join all your squares up to form a cube with a lid. Do this by folding up the 3 starter squares and joining to the spotty square, then add the floral one to the mix and you form a box.
8. To complete the final square pin all the sides in place. Starting at green square you will sew down to purple but leave 1 cm. With needle down lift up machine foot and pivot. Sew to blue and repeat pivoting. Sew about an inch in and back stitch. Leaving a gap rejoin about another inch away and continue to red square.
Turn out and stuff well then close up with hand stitches.
9. When sewing your squares together be sure the rest of the cube is out of the way of the needle so you don’t sew bits together or create unnecessary bulk.

You have your own cube toy. It isn’t an easy project joining squares to be 3d but it is fun. I also make this teething toy using velour and towelling. Just click the picture for the link to the tutorial by Willow and Stitch